How to smooth a Wrinkled background in 30 secs with photoshop.
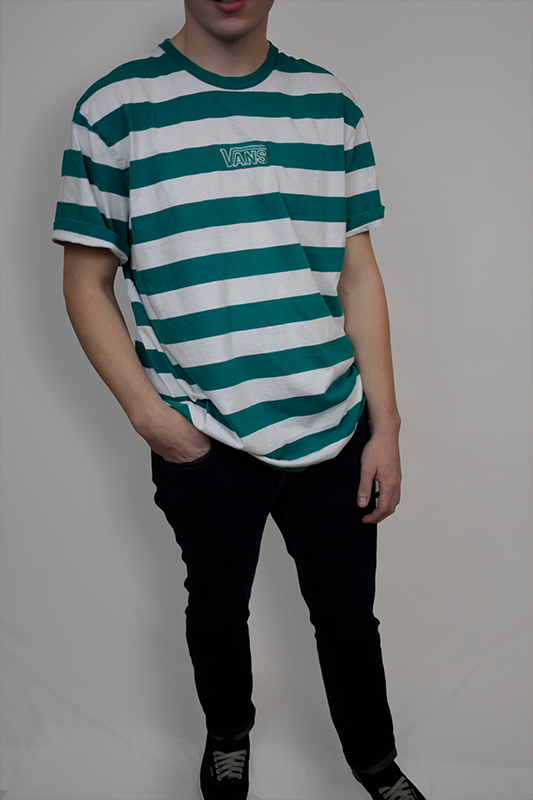
If you are like me and you are ballin on a budget and don’t have a huge amount of money to spend on a full studio setup for portraits then you are most likely using a wrinkled sheet as a backdrop. Did you know you can fix this in 30 seconds with photoshop? Probably not because every video and tutorial out there goes way in depth on how to do it professionally and precisely. Ladies and gentlemen, I’m here to change the game. Nobody’s got time to do all that when you have 100+ portraits to go through. I’ll keep this post short since its way easier than everyone makes it.
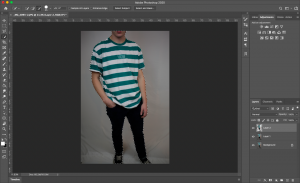
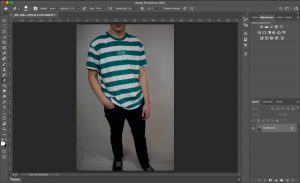 1. Put your picture into photoshop (duh)
2. Duplicate the photo – cmd/crtl + J (you should always do this anyways)
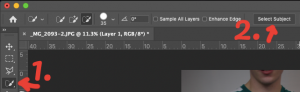 3. Click the “quick selection tool then Click the “Select Subject” button
4. Press CTRL/CMD + j to make a duplicate of the selection.
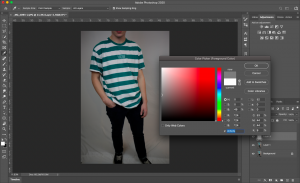 5. Create a blank layer and then use the paint bucket tool to fill it with a neutral color of the background. If you don’t know how to do that Click the paint bucket tool > click the color selector > use the dropper and pick a not too dark or not too bright spot.
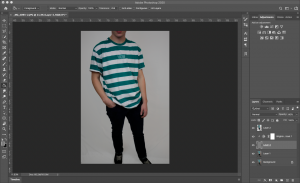
6. after you fill in the blank layer, if your background is dark and grey all over like mine then add a brightness/contrast layer on top of the background, then simply adjust it to your whiteness liking.
7. Make the opacity of this layer 50-70% depending on how bad your wrinkles are.
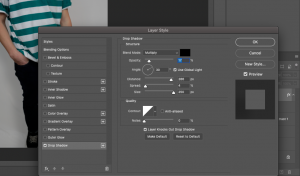
8. Click your cut out subject layer and add a drop shadow. I’ll put a pic below that shows my perfect settings.
Now you are done (finished pic at the top). I can not understand why everyone makes it so difficult. I’ve done this on many different types of backdrops and different colors and it works 99.9% of the time and looks good. Please give it a shot and let me know how it goes for you. If you have any questions please drop a comment or reach out to me and i’ll clarify. As always thanks for reading and have a great day!